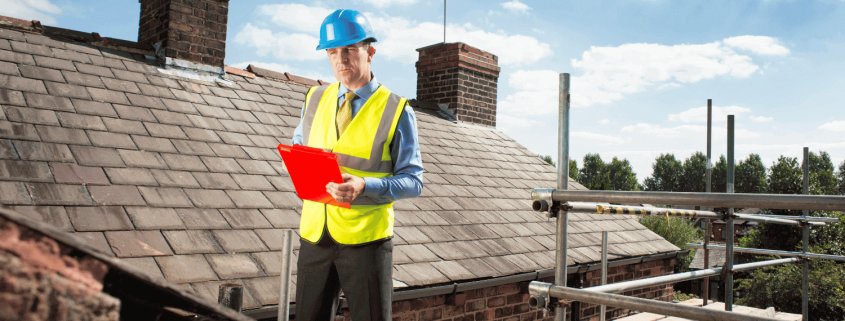
Best Shingle Removal Techniques for Homeowners
Looking to remove shingles from your roof? In this guide, you’ll learn when to replace your shingles, what tools you’ll need, and the exact steps to take for a safe and efficient shingle removal.
Key Takeaways
-
Replace roof shingles if you see signs like curling edges, bald spots, or cracks.
-
Gather essential tools like a roofing shovel and safety gear for a smooth removal process.
-
Proper disposal and cleanup of old shingles are crucial for safety and environmental reasons.
When to Replace Your Roof Shingles
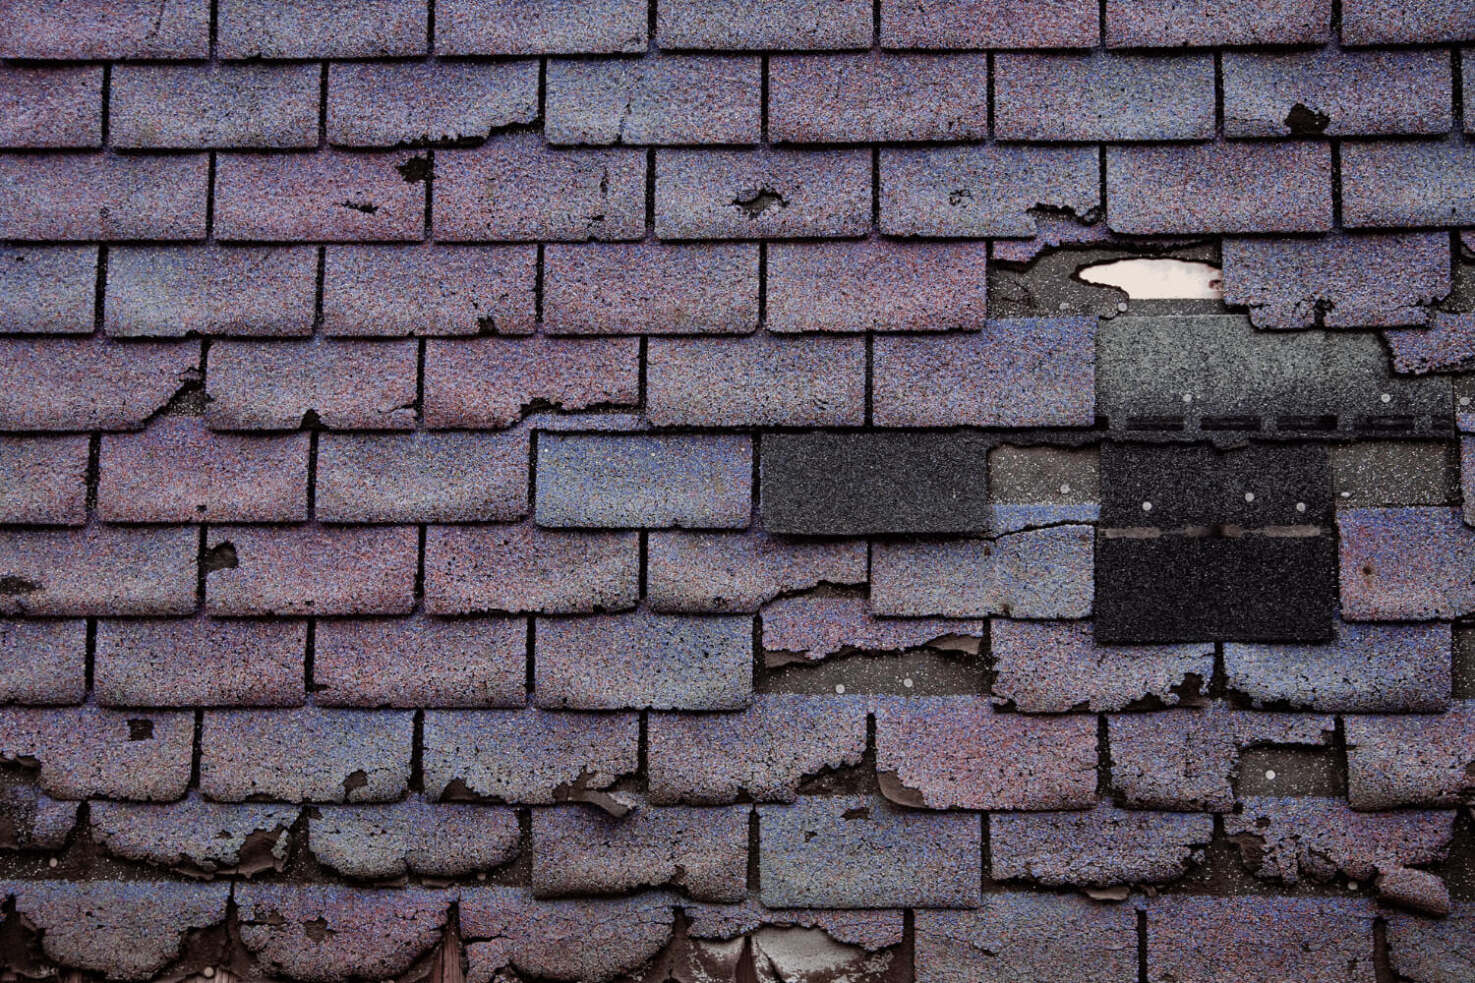
Recognizing the right time to replace your roof shingles is key to keeping your home in good condition. One of the first signs to look out for is curling edges or cupping tabs on your existing shingles. These signs indicate that the shingles are no longer providing adequate protection and need to be replaced. Bald spots caused by missing granules are another telltale sign that your shingles have seen better days and are due for a replacement.
Cracked shingles are also a clear indicator that it’s time to take action. If your roof is at least 20 years old, it might be nearing the end of its lifespan, especially if it appears worn or damaged. Observing neighbors replacing their roofs might indicate that your roof is also due for replacement.
Water damage, missing shingles, and granule loss are serious issues that should not be ignored. Additionally, moss growth, particularly in shady areas, can trap moisture against the shingles underneath, leading to long-term damage. Monitoring these indicators will guide you on when to begin removing your shingles.
Essential Tools and Materials for Shingle Removal
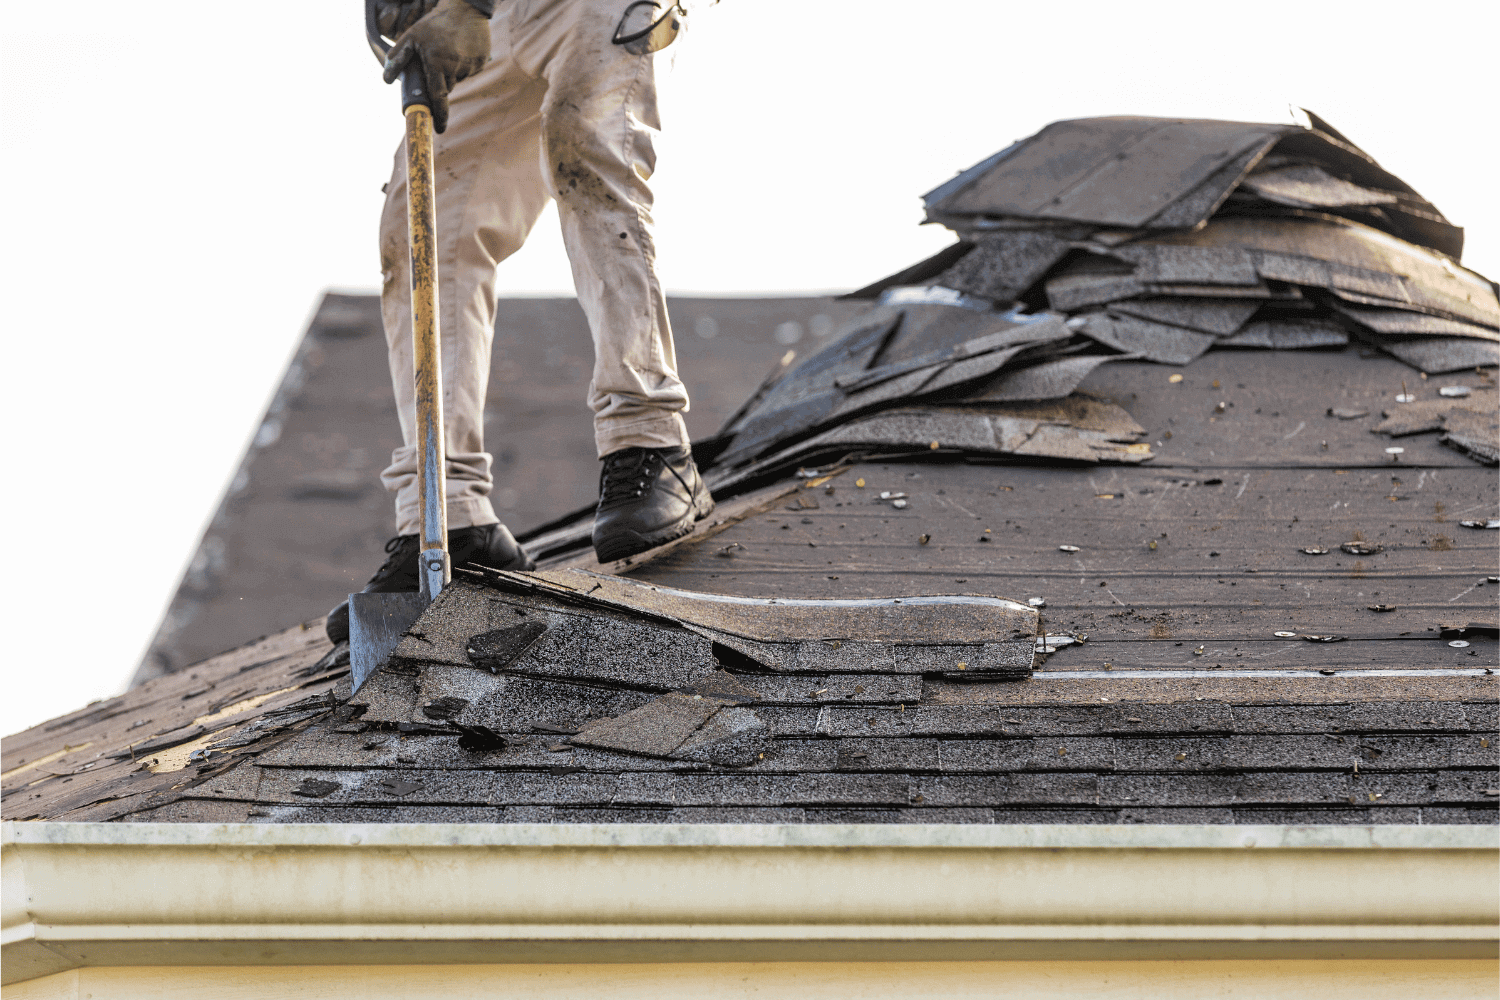
Gathering the proper tools and materials is a must before starting the shingle removal process. Key tools include a roofing shovel, pry bar, and specialized modified shovel-type tools. Power saws with demolition blades and lightweight tear-off spades can also make the job easier and more efficient.
Safety is paramount when working on a roof. Wear thick-soled shoes or boots with good grip, work gloves, and safety goggles for protection during removal. Long pants and a safety harness are also recommended to enhance safety while on the roof.
Additionally, tarps and sheets of plywood can help protect your property from falling debris. Having these shingle removal tools on hand will ensure a smoother and safer project.
Preparing Your Property for Shingle Removal
Preparation is key to a successful shingle removal project. Start by laying tarps over shrubs and other landscaping elements to protect them from falling debris. Removing outdoor furniture and decorations will also prevent any accidental damage during the removal process.
It’s also crucial to check for any overhead power lines that could pose hazards during the project. Securing ladders and tools properly minimizes the risk of accidents.
Using roof jacks can help catch falling shingles and enhance safety. Notify neighbors about your roofing project to reduce disruptions and keep them informed. With these preparations, you’ll be ready to tackle the shingle removal process effectively.
The Step-by-Step Shingle Removal Process
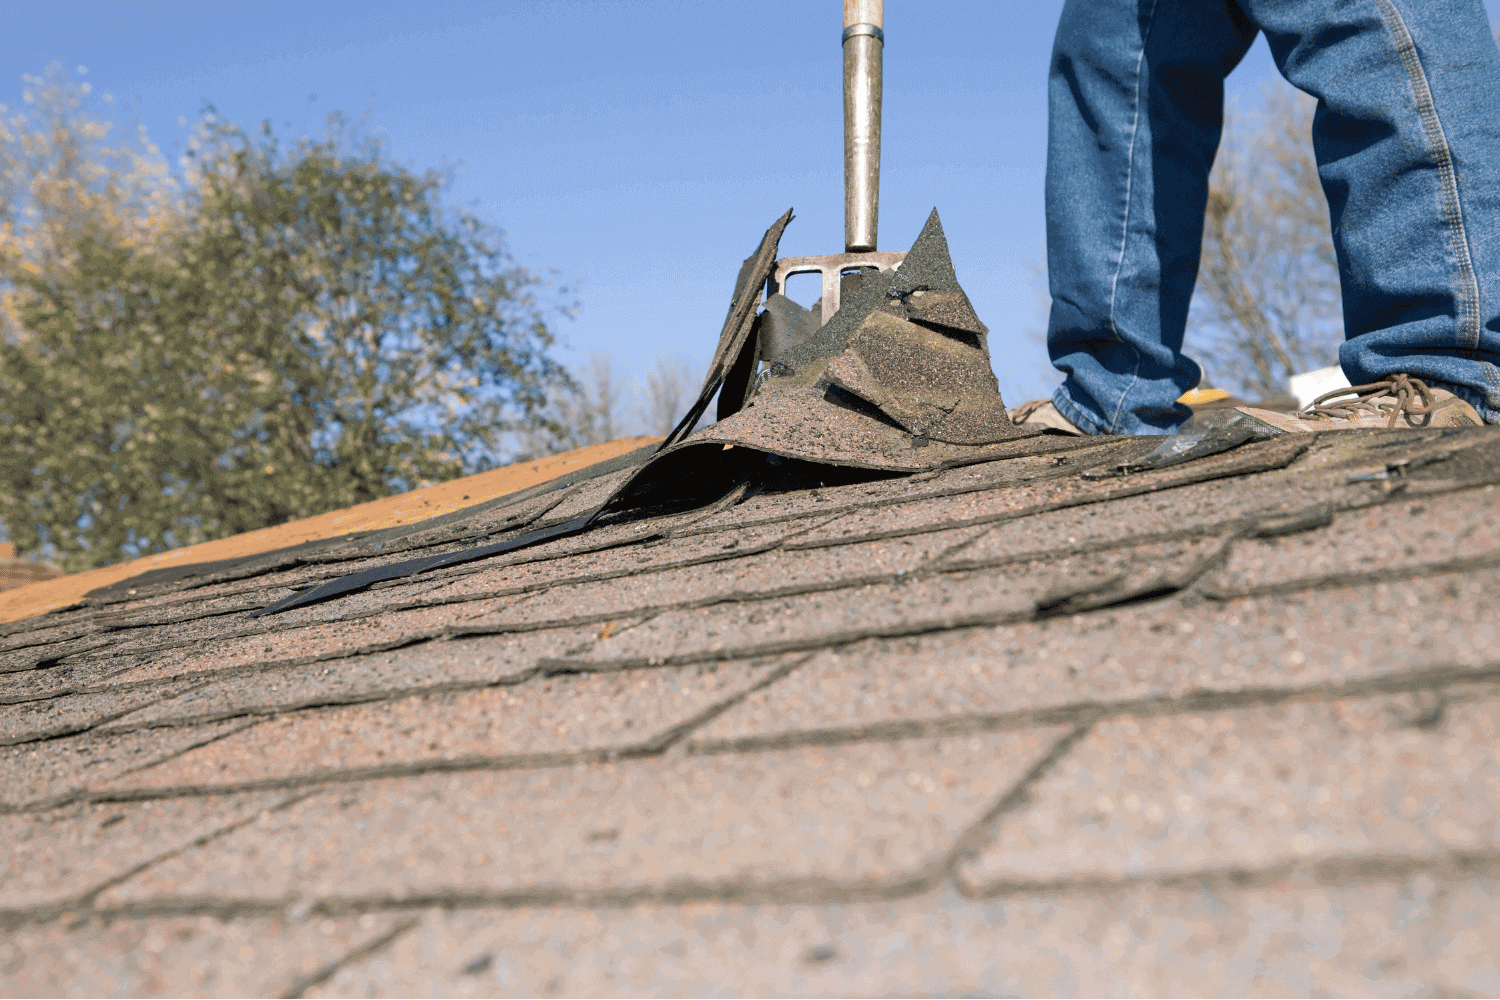
Embarking on the shingle removal process can be daunting, but breaking it down into manageable steps makes it more approachable. This section will guide you through starting at the ridge caps, removing shingles in sections, and inspecting and removing flashing.
Adhering to these detailed steps ensures an efficient and safe removal process.
Start at the Ridge Caps
Begin the shingle removal process at the ridge caps to set the stage for a systematic approach. Using a roofing tear-off shovel, begin prying the ridge caps loose. This tool is specifically designed to make the task easier and more efficient.
Once you’ve pried the ridge caps loose, allow them to slide down towards the roof jacks. This method helps manage the shingles and prevents them from causing damage or creating a mess. Starting at the top and working downwards helps you maintain better control.
Remove Shingles in Sections
After dealing with the ridge caps, the next step is to remove shingles in sections. Start with the shingles adjacent to the ridge caps to keep the process organized. Shingles should be removed in manageable 2 to 3-foot sections to maintain safety and order.
Begin at the top of the roof and proceed downwards, removing each shingle with care. Repeat this process until all the shingles are detached. Removing shingles from the area farthest from the garbage bin facilitates easier and more efficient disposal. This method ensures a systematic approach, reducing the risk of accidents and debris buildup.
Inspect and Remove Flashing
Inspecting and removing flashing is a crucial part of the shingle removal process. Check the condition of the roof flashing for any signs of wear, such as rust, cracks, or corrosion. If the flashing is damaged, use a pry bar to remove it carefully.
For valley and vent flashing, start at the top and pry it loose, moving downward. If the flashing is free of cracks and rust, it can be reused with new shingles. However, if it’s heavily corroded, it’s best to replace it to ensure a better seal.
Inspecting and removing flashing correctly prevents future leaks and extends your new roof’s lifespan.
Cleaning Up After Shingle Removal
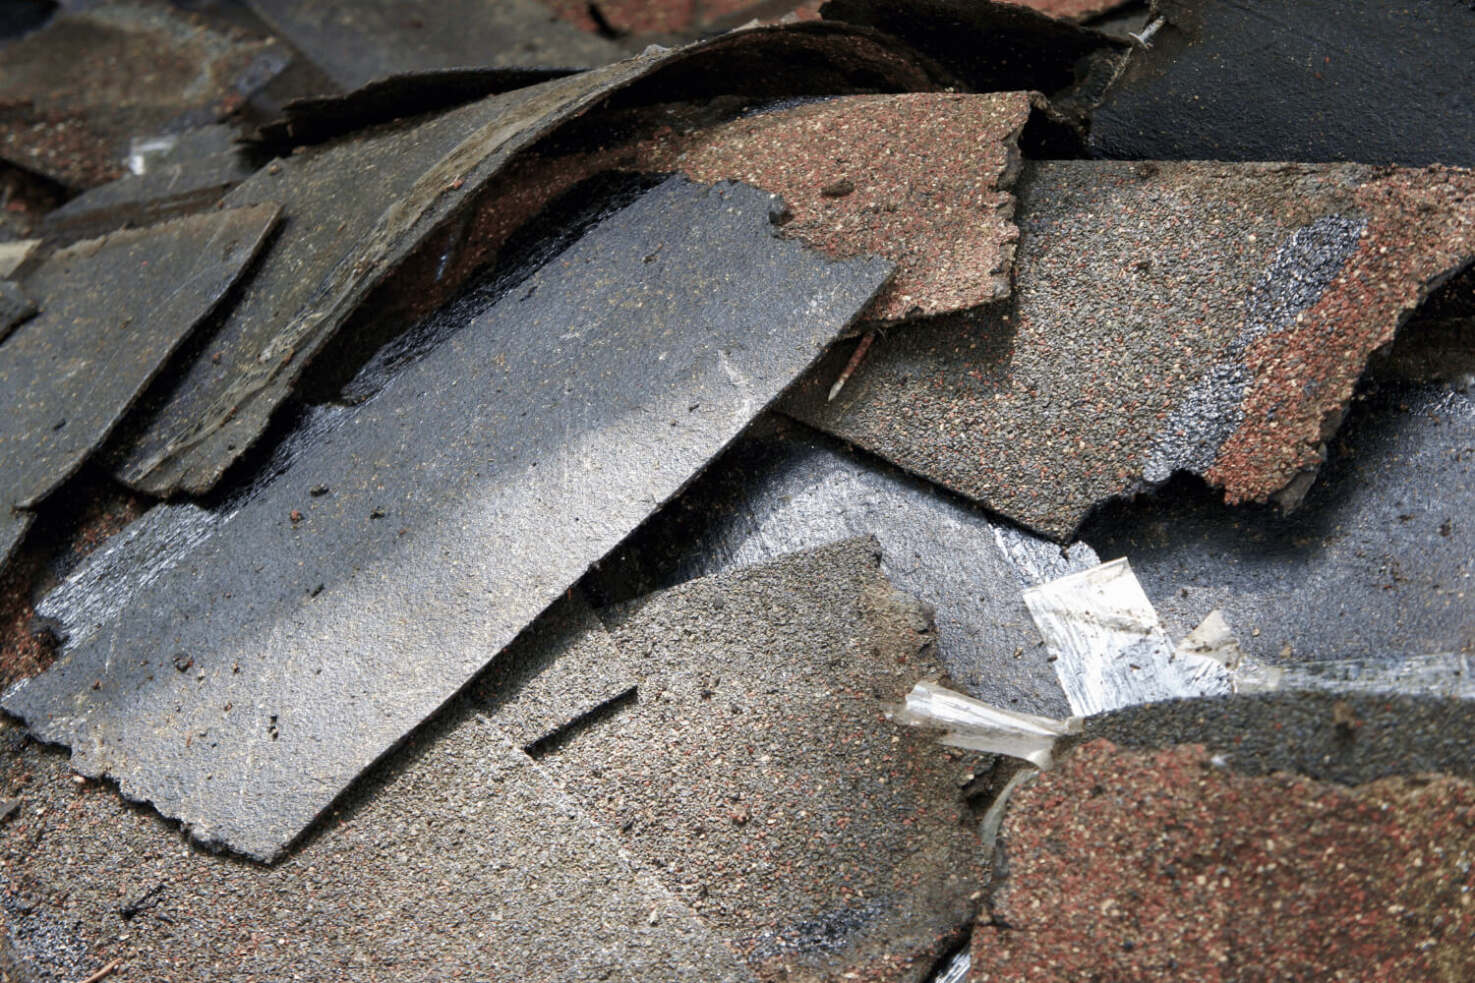
Post-removal cleanup is just as critical as the shingle removal process itself. Start by sweeping the roof clean with a push broom or blower to clear debris before it rains. This step will prevent any leftover material from causing issues once the new shingles are installed.
Use a magnetic wand or broom to effectively collect stray nails from both the roof and the ground. Cutting the grass shorter before beginning the project can also make it easier to spot fallen nails. Cleaning up all nails and debris ensures your yard remains safe for children and pets.
A thorough cleanup will set the stage for a smooth installation of new roofing materials.
Disposal of Old Shingles
Disposing of old shingles properly is essential for both environmental and safety reasons. Renting a dumpster is a convenient option that provides an organized and efficient disposal process. Alternatively, recycling centers offer an environmentally friendly way to dispose of old asphalt shingles.
It’s also possible to donate usable shingles if they are clean and properly bagged to meet specific organization requirements. Before disposing of old shingles, check for asbestos, especially in older asphalt shingles, to ensure compliance with safety regulations.
Adhering to local regulations and guidelines is essential for proper disposal. Some landfills have designated areas for construction debris like shingles.
Installing Ice and Water Barriers
Installing ice and water barriers is vital to protect your roof from leaks and water damage. Barriers should be installed in valleys and around chimneys. They should also be placed near skylights and other protruding roof features. Unroll the barrier in sections, extending it beyond the existing barrier by a few inches to ensure an effective seal.
If removing an old barrier is difficult, a new layer of leak barrier can be installed over the existing one. Inspect flashing for wear during this process, as damaged flashing can lead to leaks if not replaced.
Using compatible materials avoids potential staining and compatibility issues. Proper installation of ice and water barriers will enhance your roof’s durability.
When to Consider Hiring a Professional Roofer
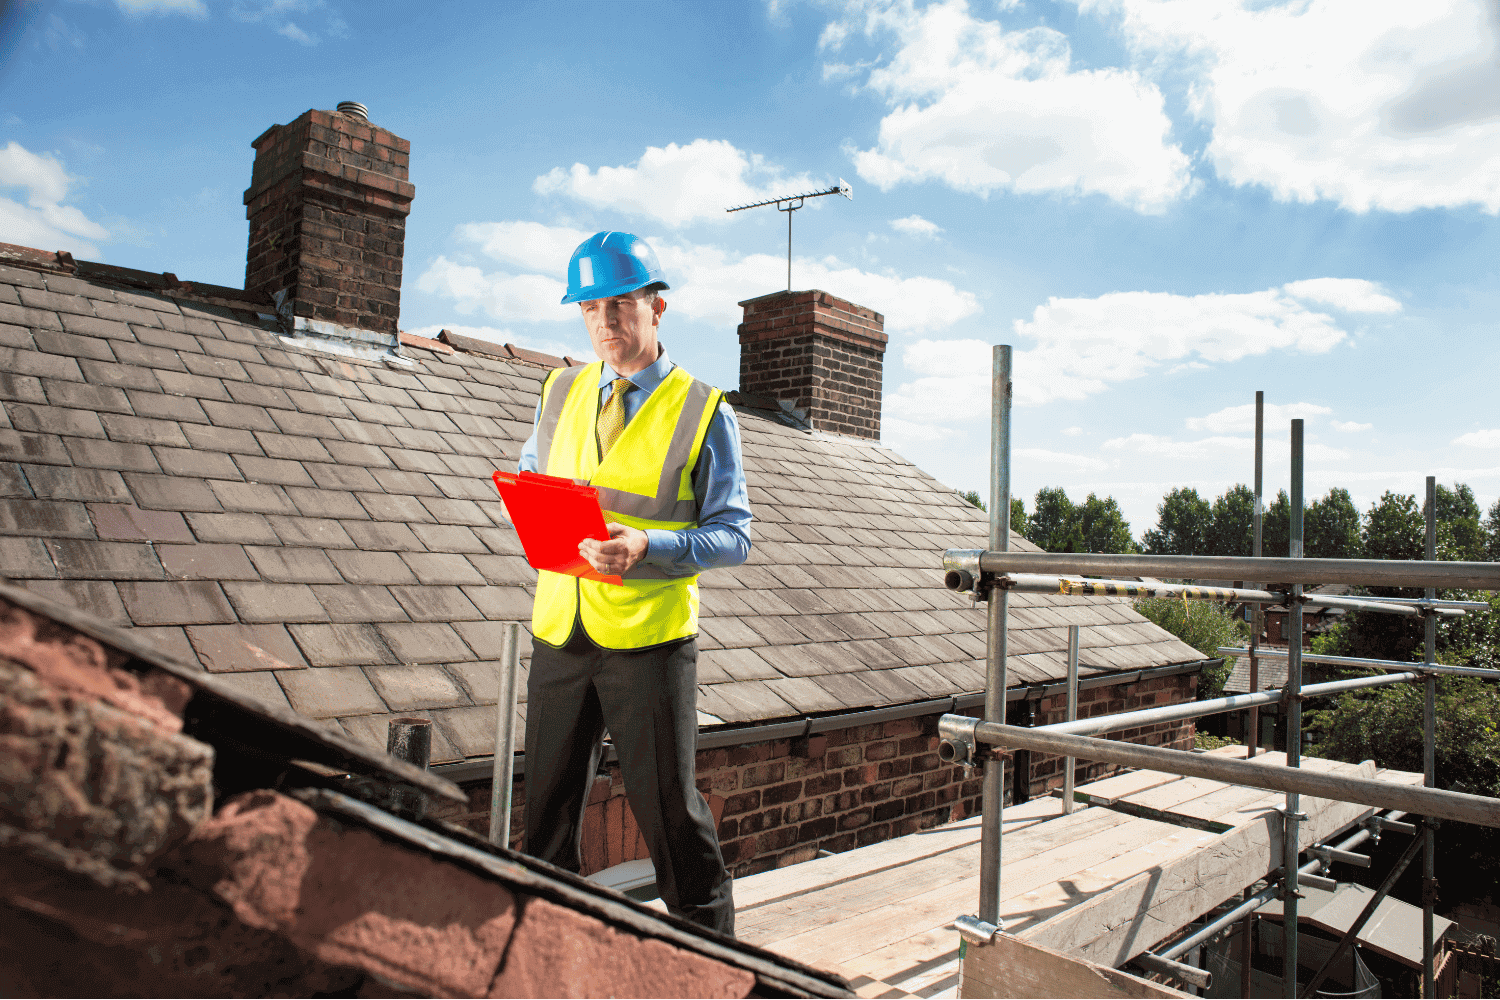
While removing old roof shingles is a task that many homeowners can handle themselves, there are times when hiring a professional roofer might be the best choice. If you have safety concerns or are not confident about working on your roof, it’s advisable to seek professional help. A professional roofer can ensure the job is done correctly and safely.
Factors that influence the cost of professional shingle removal include the size of the roof, type of shingles, local labor rates, and the roof’s style. By considering these factors, homeowners can make an informed decision about whether to tackle the project themselves or hire a roofing contractor.
Sometimes, professional help is worth the investment for peace of mind and quality work.
Summary
To sum up, knowing the best shingle removal techniques can empower homeowners to take control of their roofing projects. From identifying when to replace your roof shingles to gathering essential tools, preparing your property, and following a step-by-step removal process, each step is crucial for a successful project.
Whether you decide to tackle the project yourself or hire a professional roofer, the knowledge gained from this guide will serve you well. Remember, a well-maintained roof not only protects your home but also enhances its value. Take the first step towards a better roof today!
Frequently Asked Questions
What are the signs that it’s time to replace my roof shingles?
If you see curling edges, bald spots, or cracked shingles, it’s probably time to replace your roof shingles. Also, if your roof is over 20 years old, don’t wait too long, especially if others in your neighborhood are doing the same!
What tools do I need for shingle removal?
You’ll need a roofing shovel, pry bar, power saws with demolition blades, thick-soled shoes, work gloves, safety goggles, and tarps for shingle removal. Make sure you’ve got all these tools handy for a smooth job!
How should I prepare my property for shingle removal?
To get your property ready for shingle removal, lay tarps over shrubs, clear away outdoor furniture, and make sure to board up any windows. Don’t forget to check for overhead power lines and secure all your ladders and tools!
How do I dispose of old shingles?
You can get rid of old shingles by renting a dumpster, recycling them at designated centers, or donating usable ones. Just remember to check for asbestos in older shingles to stay safe!
When should I hire a professional roofer?
You should hire a professional roofer if you’re feeling unsure about the project, have safety concerns, or if it’s just a big job that’s way over your head. It’s better to get the pros in and ensure it’s done right!

