Top Solutions for Flashing on Roof Leaking
A leaking roof is often due to compromised flashing. If this is an issue, you may notice water stains and potential damage inside your home. In this guide, we’ll explore common causes, how to identify the problem, DIY fixes, and when to get professional help.
Key Takeaways
-
Properly installed and maintained roof flashing is essential for preventing leaks and protecting homes from water damage.
-
Common causes of flashing leaks include poor installation, material corrosion, and severe weather, making regular inspections vital.
-
DIY solutions for minor flashing repairs are available, but professional help is recommended for complex issues to ensure effective repairs.
Top Solutions for Flashing on Roof Leaking
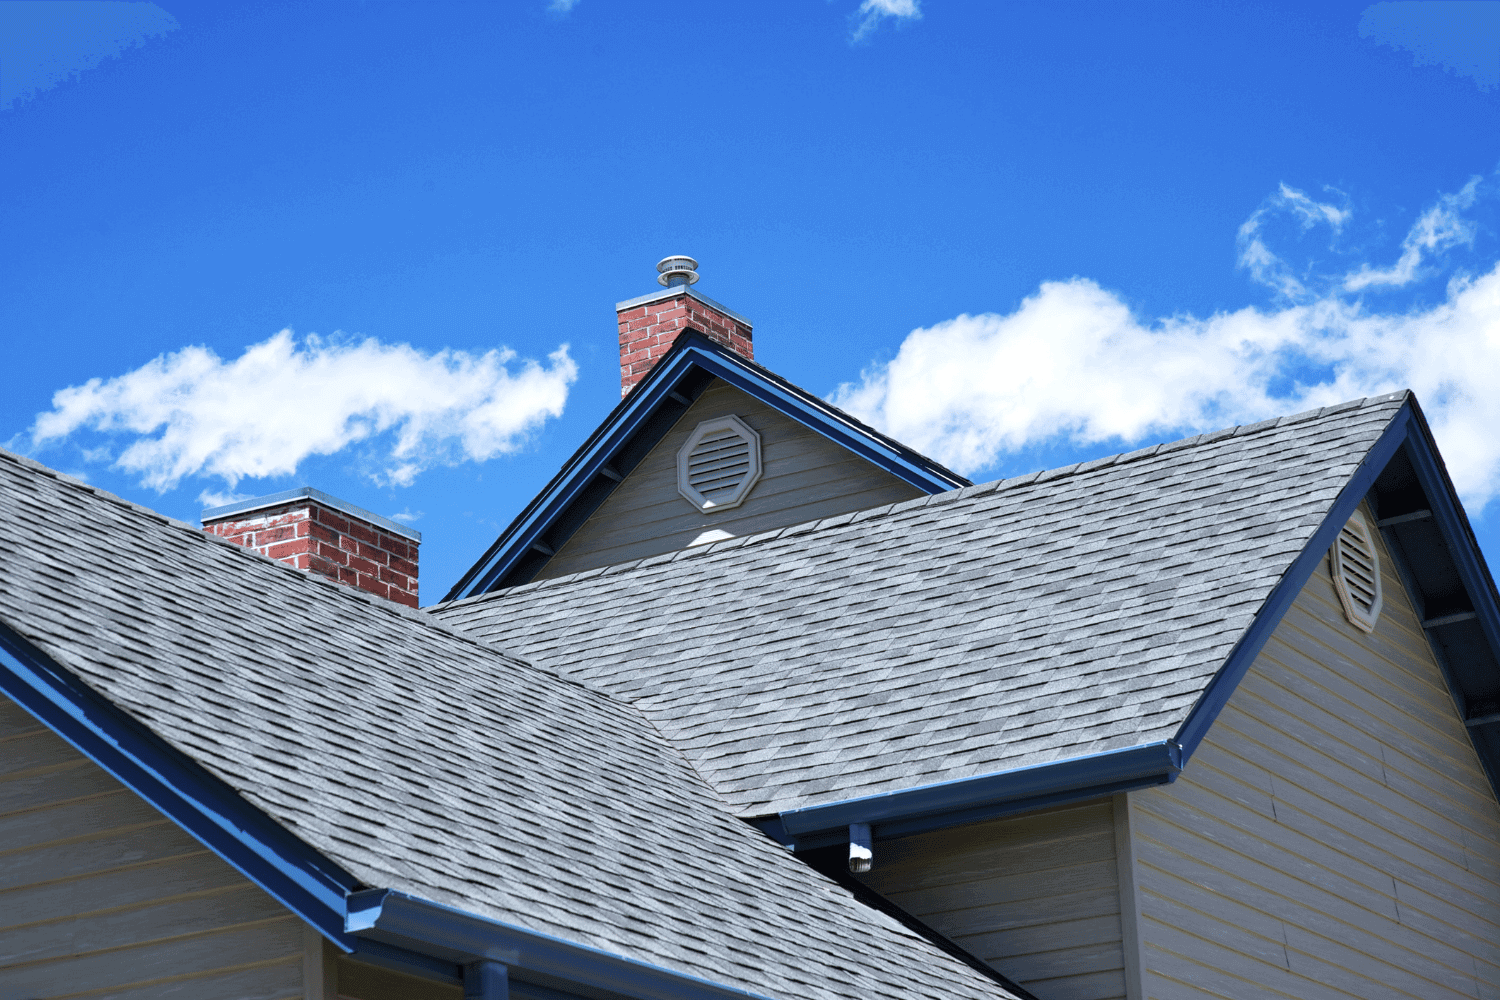
Roof flashing serves as a protective barrier that directs water away from areas where the roof meets walls or other vertical structures. This essential component prevents water from seeping into the roof and causing damage.
Common materials used for roof flashing include galvanized steel, aluminum, and copper, with copper being the most durable. However, regardless of the material, proper installation and maintenance are crucial to its effectiveness.
Flashing can be found in various parts of the roof, including chimneys, vents, and roof valleys. Each of these areas requires specific types of flashing, such as step flashing for roof valleys and kickout flashing to direct water into the gutter. Using roofing cement during installation helps create a watertight seal, ensuring that the flashing effectively prevents leaks.
In some instances, a temporary fix like using a tarp can protect your roof until professional help arrives. However, for long-term solutions, understanding the different types of flashing and how they work is essential.
Properly installed flashing accommodates the expansion and contraction of roof materials, preventing leaks and extending the roof’s lifespan.
Introduction
Awareness of roof flashing is crucial for homeowners looking to maintain their roofs and avoid costly repairs. Proper maintenance of roof flashing not only prevents leaks but also protects the interior of the home from water damage. Recognizing signs of flashing damage early can save homeowners from more severe issues and extensive damage.
This guide will explore various methods for repairing flashing, the costs involved, and when to seek professional help. Whether you’re dealing with minor leaks or extensive damage, understanding roof flashing and its maintenance is key to protecting your home.
Understanding Roof Flashing
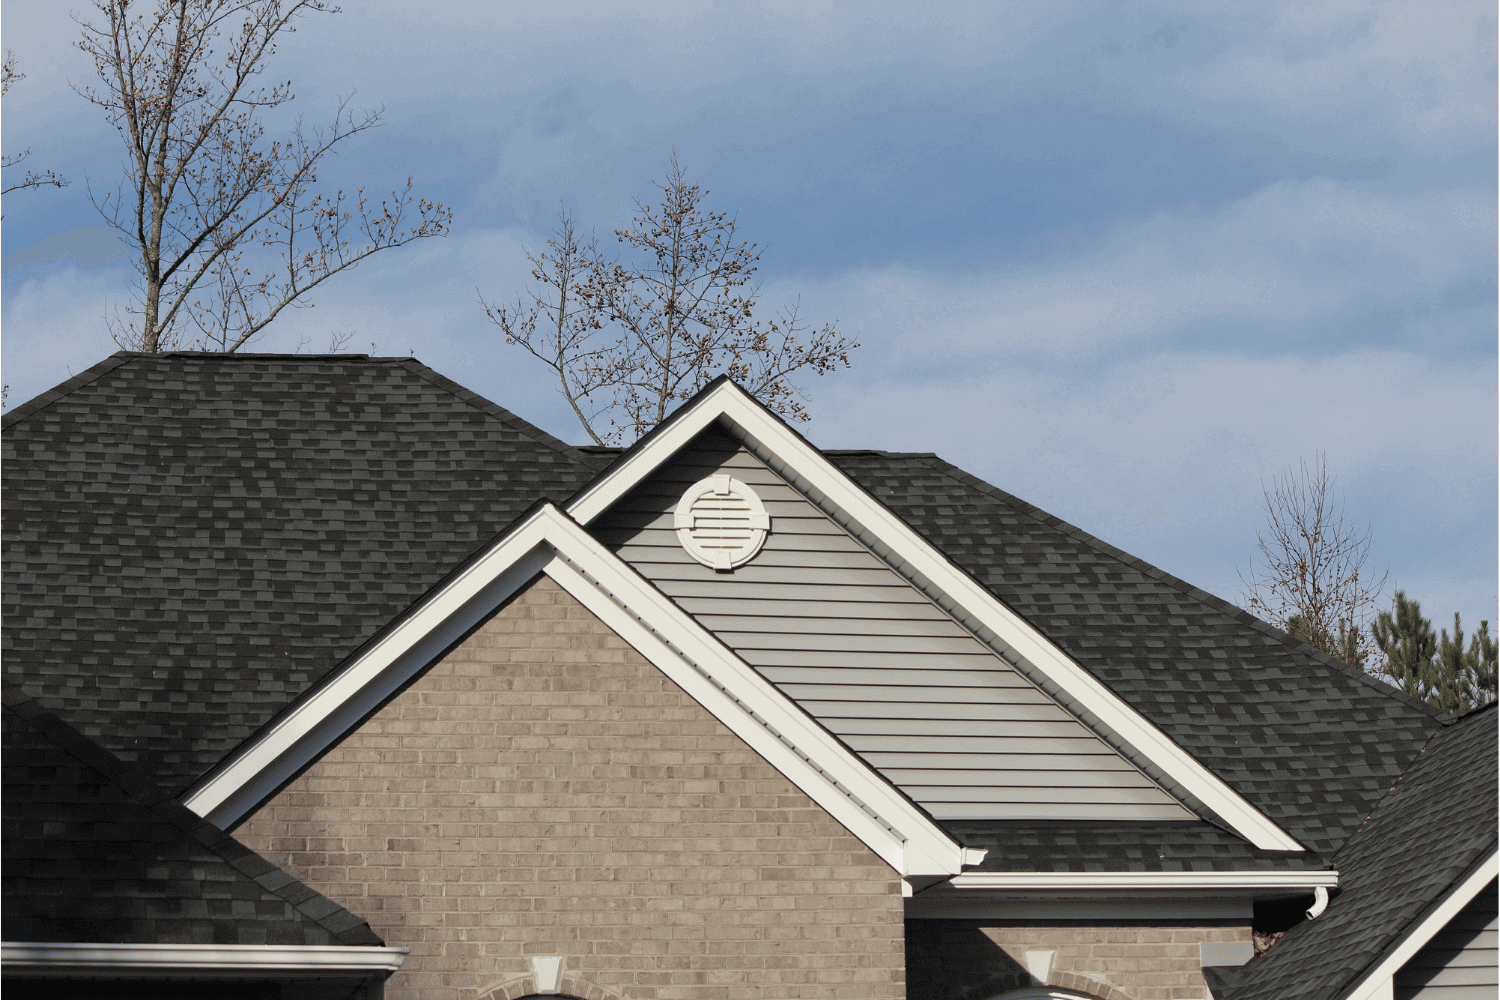
Roof flashing shields homes from the elements and preserves the roof’s structural integrity by directing water away from where the roof meets vertical structures like walls and chimneys, preventing leaks and water damage.
There are several types of roof flashing, each designed for specific parts of the roof. Step flashing is used in roof valleys, while kickout flashing directs water into gutters. Copper is often considered the best material for roof flashing due to its durability, although it can develop a patina over time.
Effective flashing installation must accommodate the expansion and contraction of roof materials to ensure a watertight seal. Roofing cement is often used to enhance this seal and prevent leaks.
Common Causes of Roof Flashing Leaks

Roof flashing leaks can occur for several reasons, including poor installation practices and material corrosion. Inadequate materials or incorrect nailing can lead to rapid deterioration of flashing seals, making them vulnerable to leaks and roof flashing failure. Sealants can also corrode over time, further compromising the integrity of the flashing.
Severe weather conditions, such as heavy rain and strong winds, can cause flashings to detach or sustain damage. Excessive rain or snow accelerates the erosion of flashing materials, leading to leaks. Common causes also include storm damage and loose flashing due to age or adverse weather conditions.
Knowing these causes enables homeowners to take preventative measures and address issues before they lead to significant damage. Regular inspections and maintenance can catch problems early and prevent costly repairs.
Identifying Roof Flashing Leaks
Early identification of roof flashing leaks can prevent extensive damage. Common signs include water stains on ceilings and walls, visible light through roof openings, and water-damaged decking.
One effective method to identify roof flashing leaks is the garden hose test. With an assistant in the attic, apply water to suspected areas such as chimneys, skylights, and vents, and monitor for interior moisture. This test helps confirm the source of the leak and guides the repair process.
DIY Solutions for Fixing Roof Flashing Leaks
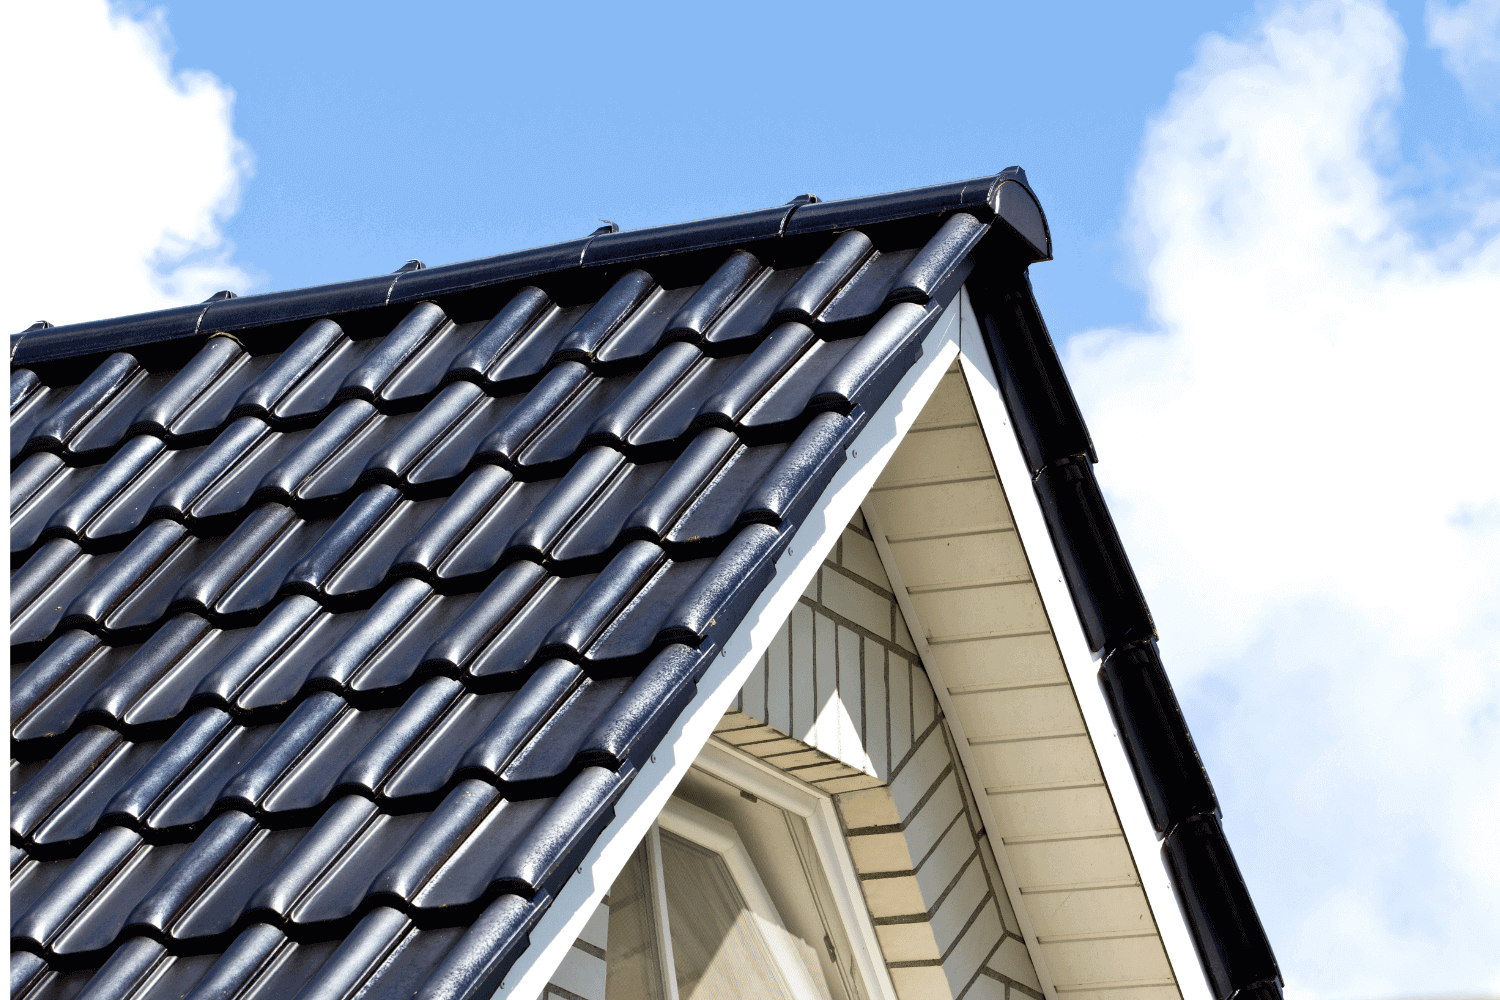
For those who prefer a hands-on approach, several DIY solutions can address roof flashing leaks and help prevent flashing leaks. These methods include cleaning and sealing, reattaching loose flashing, and using flashing tape.
Each of these solutions can provide temporary fixes or permanent repairs, depending on the severity of the damage.
Cleaning & Sealing
Cleaning and sealing are essential steps in addressing minor flashing damage. Start by cleaning the area and removing any debris using a wire brush to eliminate rust. This preparation ensures that the sealant adheres properly and creates a watertight seal.
Once the area is clean, apply roofing cement or silicone caulk to seal the edges and seams of the flashing. This method is effective for minor repairs and can temporarily seal leaks until more extensive repairs can be made.
Reattaching Loose Flashing
Reattaching loose flashing involves securing it with nails or screws to ensure it is firmly in place. After reattaching, it’s crucial to seal the edges with a suitable roofing sealant or roofing cement to prevent future leaks.
Check for any gaps or areas where the flashing does not lay flat against the roof surface. Addressing these issues promptly can prevent further damage and ensure the flashing functions correctly.
Using Flashing Tape
Flashing tape is a useful tool for minor repairs and serves as a temporary fix for small cracks or gaps. Thoroughly clean the area before applying the tape. This step is essential for ensuring proper adhesion.
Apply the flashing tape over the clean surface, pressing it firmly to ensure a secure bond. While this method provides a quick solution, it’s important to note that flashing tape is not a permanent fix and should be followed up with more robust repairs.
When to Seek Professional Help
While DIY repairs can be effective for minor issues, there are times when professional help is necessary. Uncertainty about the repair process or severe damage warrants consulting a professional. Complex flashing issues and extensive damage often require the expertise and right tools that only a professional can provide.
Fixing significant roof flashing problems without experience can lead to improper installations and further leaks. Hiring a contractor ensures proper repairs, preventing future issues.
Professional Roof Flashing Repair Process
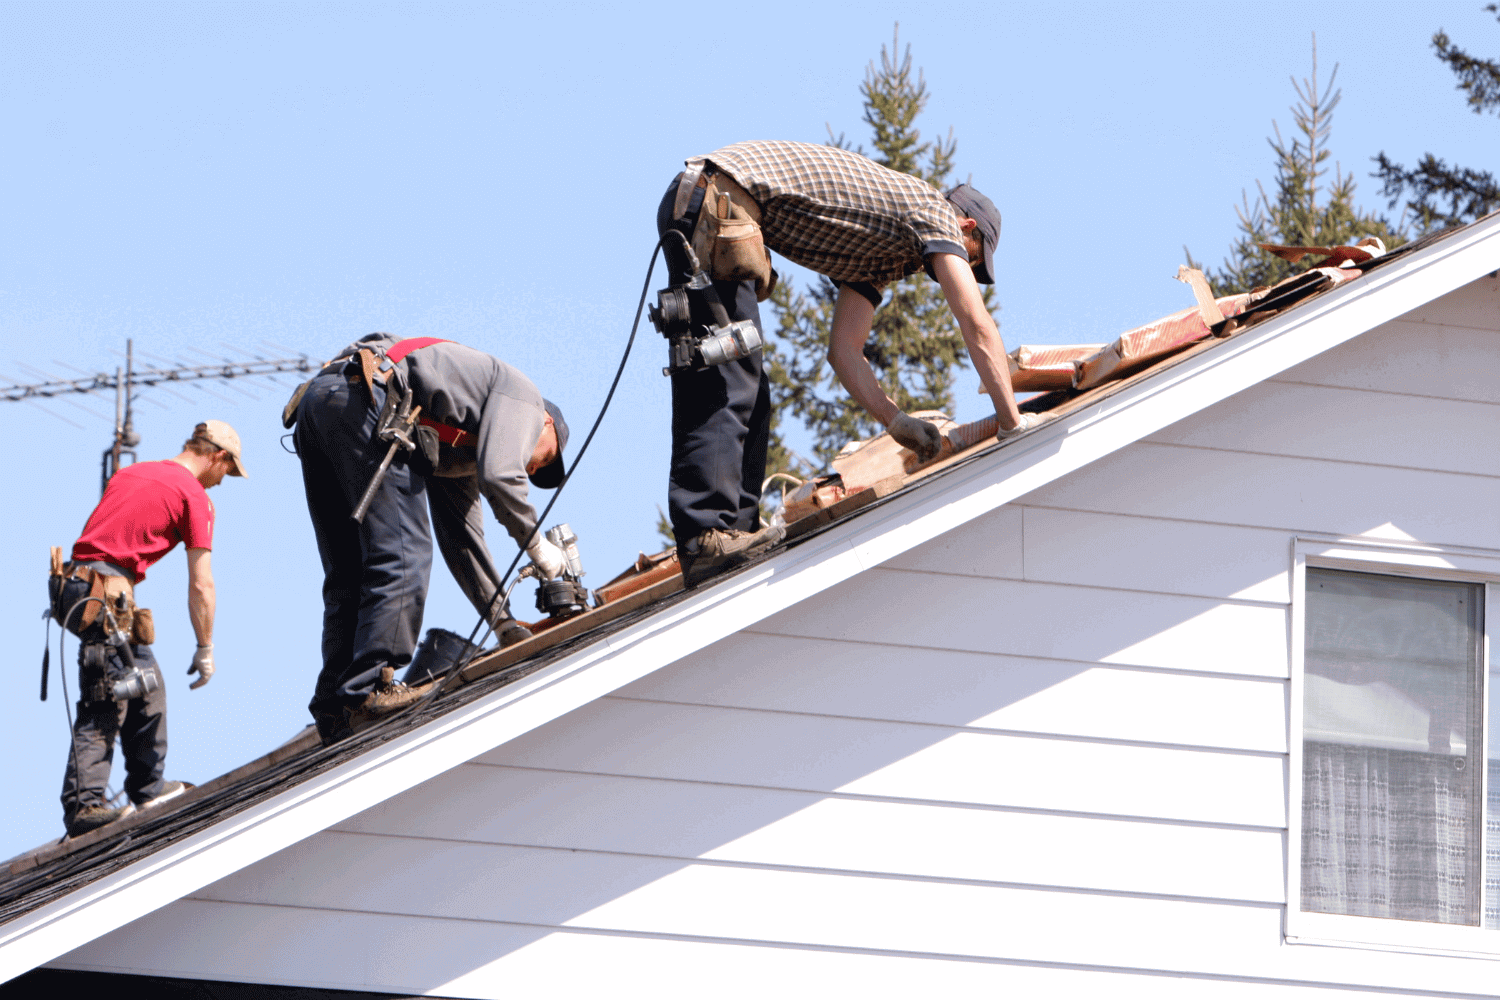
The professional roof flashing repair process begins by identifying damaged roof flashing areas, such as chimneys, skylights, and roof valleys. After removing the damaged flashing, the area is cleaned to repair roof flashing and remove debris and old roofing cement.
Next, replacement flashing is cut to size and secured with roofing nails spaced about six inches apart. The new flashing must extend beyond the damaged area by at least four inches for effective coverage. A watertight seal is achieved by applying roofing cement along the edges of the new flashing.
Professionals conduct inspections to check for gaps or loose components. They also perform a water test to confirm that the repair has been successful.
Preventative Measures to Avoid Future Leaks
Preventing future roof leaks involves regular maintenance and inspections. Regular roof inspections can identify problems early, preventing leaks and extensive damage. Cleaning gutters and ensuring proper attic insulation also help prevent water pooling and moisture accumulation.
Timely repairs extend the lifespan of a roof and minimize significant issues. Regularly checking and repairing flashing ensures watertight seals and prevents leaks. Services like Arocon’s Roof and Gutter Tune Up can provide comprehensive maintenance that includes gutter cleaning, resealing roof vents, and replacing shingles after a storm.
Cost Considerations for Roof Flashing Repairs
Roof flashing repair costs can vary significantly. Factors influencing the price include the extent of the damage, the type of flashing material used, and labor expenses. DIY repairs can save money and prevent extensive damage, but professional repairs typically range from $200 to $600.
The average national cost for roof repairs generally falls between $379 and $1,755, with emergency repairs adding several hundred dollars to the overall bill. Labor expenses typically account for around 60% or more of the total cost.
Factors such as the age of the roof and local weather conditions can significantly influence repair costs. Minor repairs, which may include flashing work, can range from $150 to $1,000.
Additional Services by Arocon
Arocon Roofing and Construction offers a variety of services that enhance both the functionality and aesthetics of home exteriors. These services include:
-
Roofing
-
Gutters
-
Gutter maintenance/cleanings
-
Siding
-
Window replacement
-
Door installation
Arocon also provides complimentary, no-obligation consultations for larger project repairs and replacements to assess the needs and options, ensuring professional service and expertise in managing a range of home exterior projects.
Summary
Maintaining roof flashing is essential for preventing leaks and protecting your home from water damage. By understanding the common causes of roof flashing leaks and how to identify them, homeowners can take proactive steps in maintaining their roofs. DIY solutions can address minor issues, but professional help is necessary for complex or severe problems.
Whether you’re considering DIY repairs or seeking professional assistance, being informed about roof flashing can save you time, money, and stress. Regular maintenance and timely repairs are key to a long-lasting, leak-free roof.
Frequently Asked Questions
What are the common materials used for roof flashing?
Common materials for roof flashing include galvanized steel, aluminum, and copper, with copper offering the greatest durability. Selecting the right material is crucial for effective roof protection.
How can I identify a roof flashing leak?
To identify a roof flashing leak, check for water stains on ceilings and walls, and look for visible light through roof openings. Additionally, conducting a garden hose test can help confirm the source of the leak.
When should I seek professional help for roof flashing repairs?
You should seek professional help for roof flashing repairs if the damage is severe, if you’re unsure about how to proceed, or if the issues are complex. It’s crucial to address these concerns promptly to prevent further damage to your roof.
What is included in Arocon’s Roof and Gutter Tune Up service?
Arocon’s Roof and Gutter Tune Up service includes gutter cleaning, resealing roof vents and piping, and replacing shingles as needed. This comprehensive approach ensures your roof and gutters function optimally.
What is the cost range for professional roof flashing repairs?
The cost for professional roof flashing repairs generally falls between $200 and $600. For broader roof repair needs, you can expect an average expense ranging from $379 to $1,755.

