Get It Done Right: How to Replace Your Roof Efficiently
Need to know how to replace your roof? This guide walks you through assessing your roof, preparing for the replacement, and installing new shingles. You’ll learn when to replace, how to prepare, and the key steps for a successful project.
Key Takeaways
-
Assess your roof’s condition regularly to identify signs of damage like leaks and curling shingles, especially if it’s over 20 years old.
-
Proper preparation is crucial for a roof replacement—secure permits, hire a quality contractor, and protect your property before starting the project.
-
After installation, regular maintenance, including inspections and gutter cleaning, is essential to extend your roof’s lifespan and prevent costly repairs.
Assessing Your Roof’s Condition
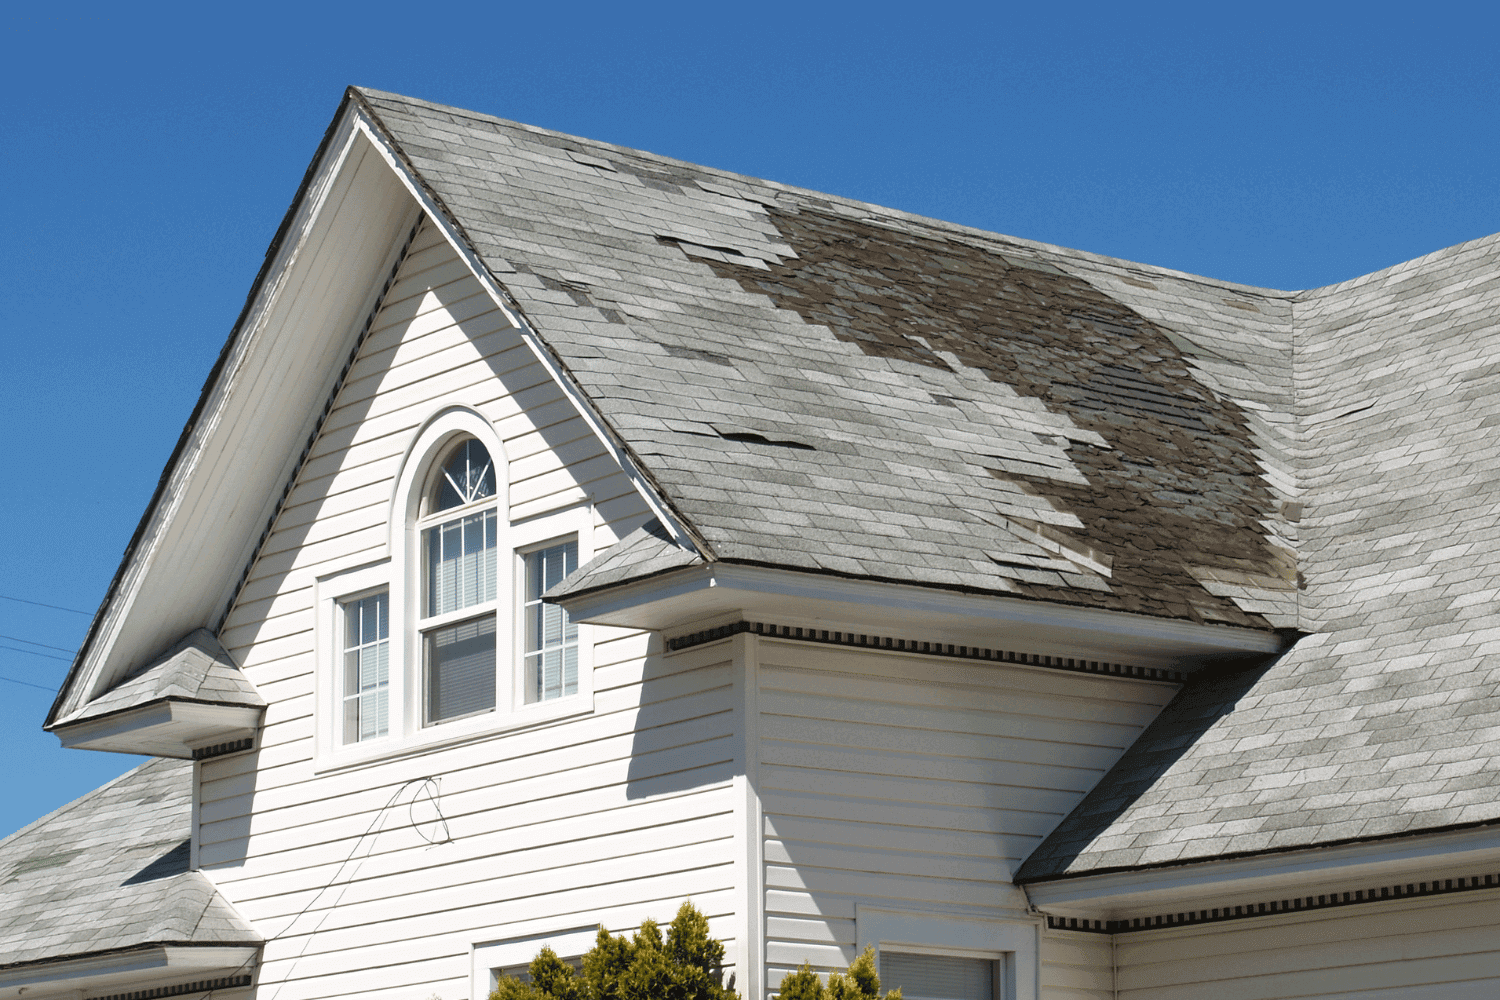
Evaluating the current condition of your roof is the first step in the replacement process. This assessment helps determine the extent of the damage and if a full replacement is needed. Such indicators can signal that it’s time for a thorough inspection and potential replacement.
If your roof is around 20 to 30 years old, it may be due for replacement, especially if it shows other signs of deterioration. Understanding these factors will help you make an informed decision and prepare for the next steps in the roof replacement process.
Signs It’s Time for a Roof Replacement
Several telltale signs indicate it’s time for a roof replacement. Curled shingles, for instance, often mean the roof is nearing the end of its lifespan. If you notice several cracked or missing shingles, this could necessitate a full roof replacement. Broken shingles and sagging areas are also red flags that should not be ignored.
Additionally, leaks or sunlight visible through the attic ceiling are indicators of potential water leaks related to roofing. Damaged flashing, which often signifies the need for a roof replacement, should also be inspected thoroughly.
Remember, the typical lifespan of a roof ranges from 20 to 30 years, so roofs over 20 years old may need replacement.
When Is the Best Time to Replace a Roof?
Timing is critical when planning a roof replacement. Scheduling a roof replacement early in the fall can help secure contractor availability and ensure the project is completed before winter. The timing can significantly impact the quality and efficiency of the project, as different seasons present different challenges.
Spring and early summer are also good times for roof replacement, providing favorable weather conditions and longer daylight hours. However, avoid the peak summer heat, which can make the roofing materials more difficult to work with and affect the installation quality.
Preparing for Roof Replacement
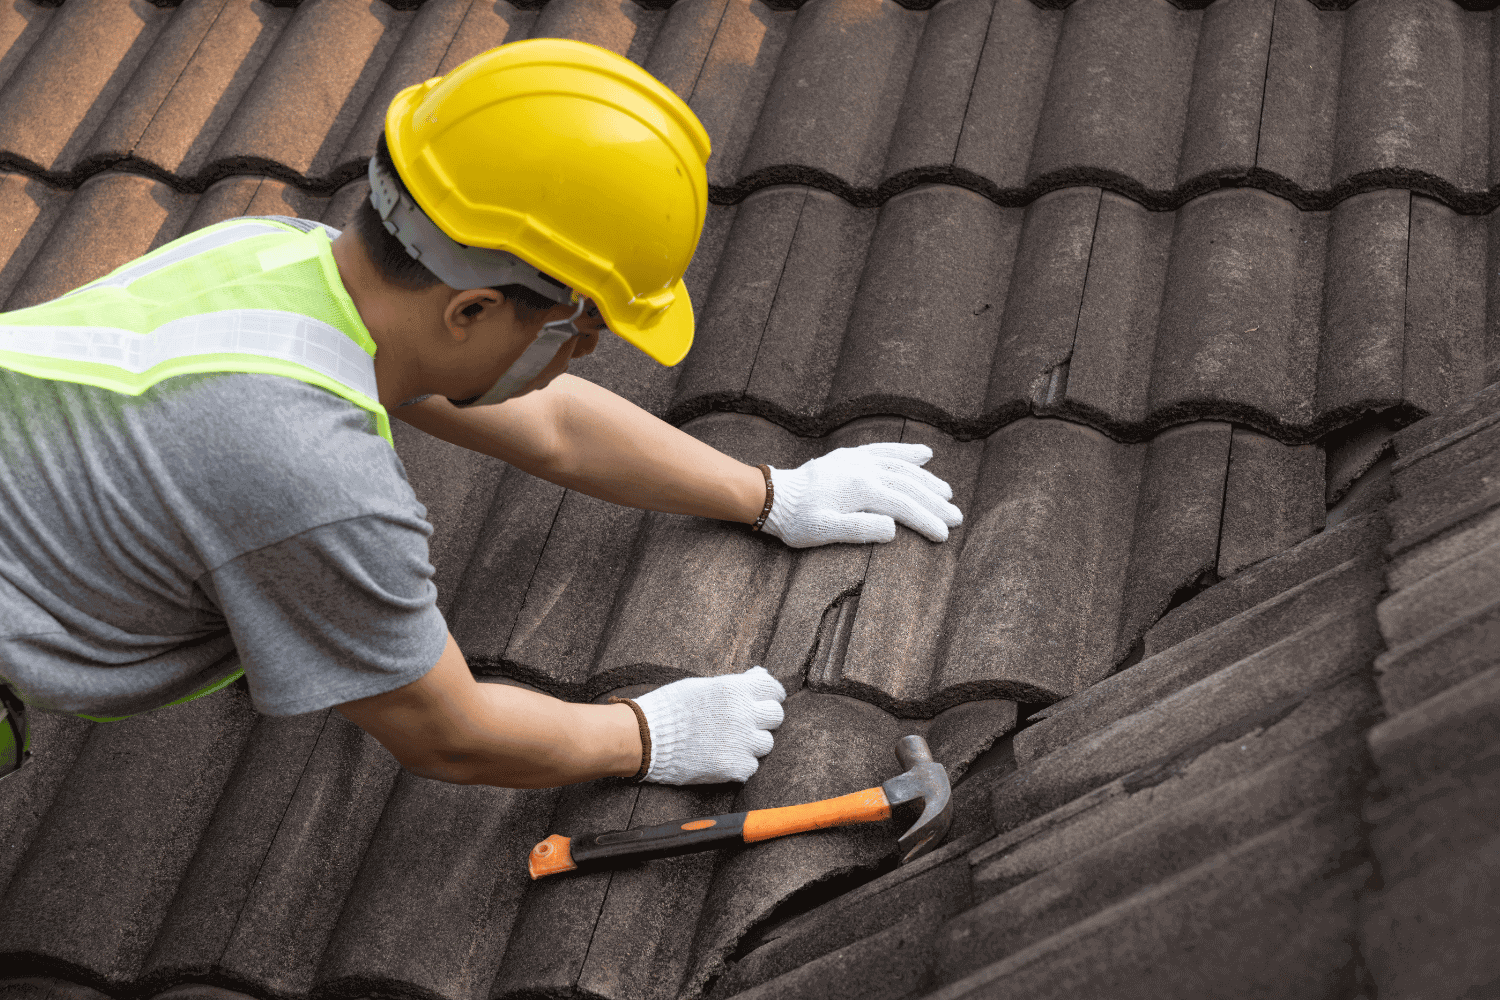
Successful roof replacement hinges on proper preparation, which includes securing permits, gathering materials, and protecting your property. These steps ensure safety for both roofers and homeowners. Roofing projects often involve mess, safety equipment, and noise, making proactive home preparation essential for any roofing project.
Begin by hiring a professional roofing contractor and obtaining at least three quotes. This helps you understand roof replacement costs and select the best option for your project. Focus on quality materials and workmanship for a long-lasting roof.
Securing Permits and Materials
Understanding local regulations for permits is crucial before starting a roof replacement. Understanding the permit process, including time, cost, and inspection requirements, is important. A professional roofing contractor can assist with navigating the local permitting and inspection process.
Review local permit regulations as the first step in roof replacement. Essential roof materials include caulk, drip edge, flashing, roofing adhesive, nails, underlayment, and shingles. Higher-grade materials offer increased durability and better wind resistance.
Protecting Property and Landscaping
Talk to your roofing contractor about covering flowers or shrubbery to prevent damage during replacement. Notify neighbors a few days in advance to prepare them for any noise or inconveniences.
Covering items in the attic is advisable to protect them from dust and debris during the roofing process. Clear the driveway or designate a storage space for materials to ensure smooth access during roof replacement. These steps help protect your property and maintain curb appeal.
Removing the Old Roof
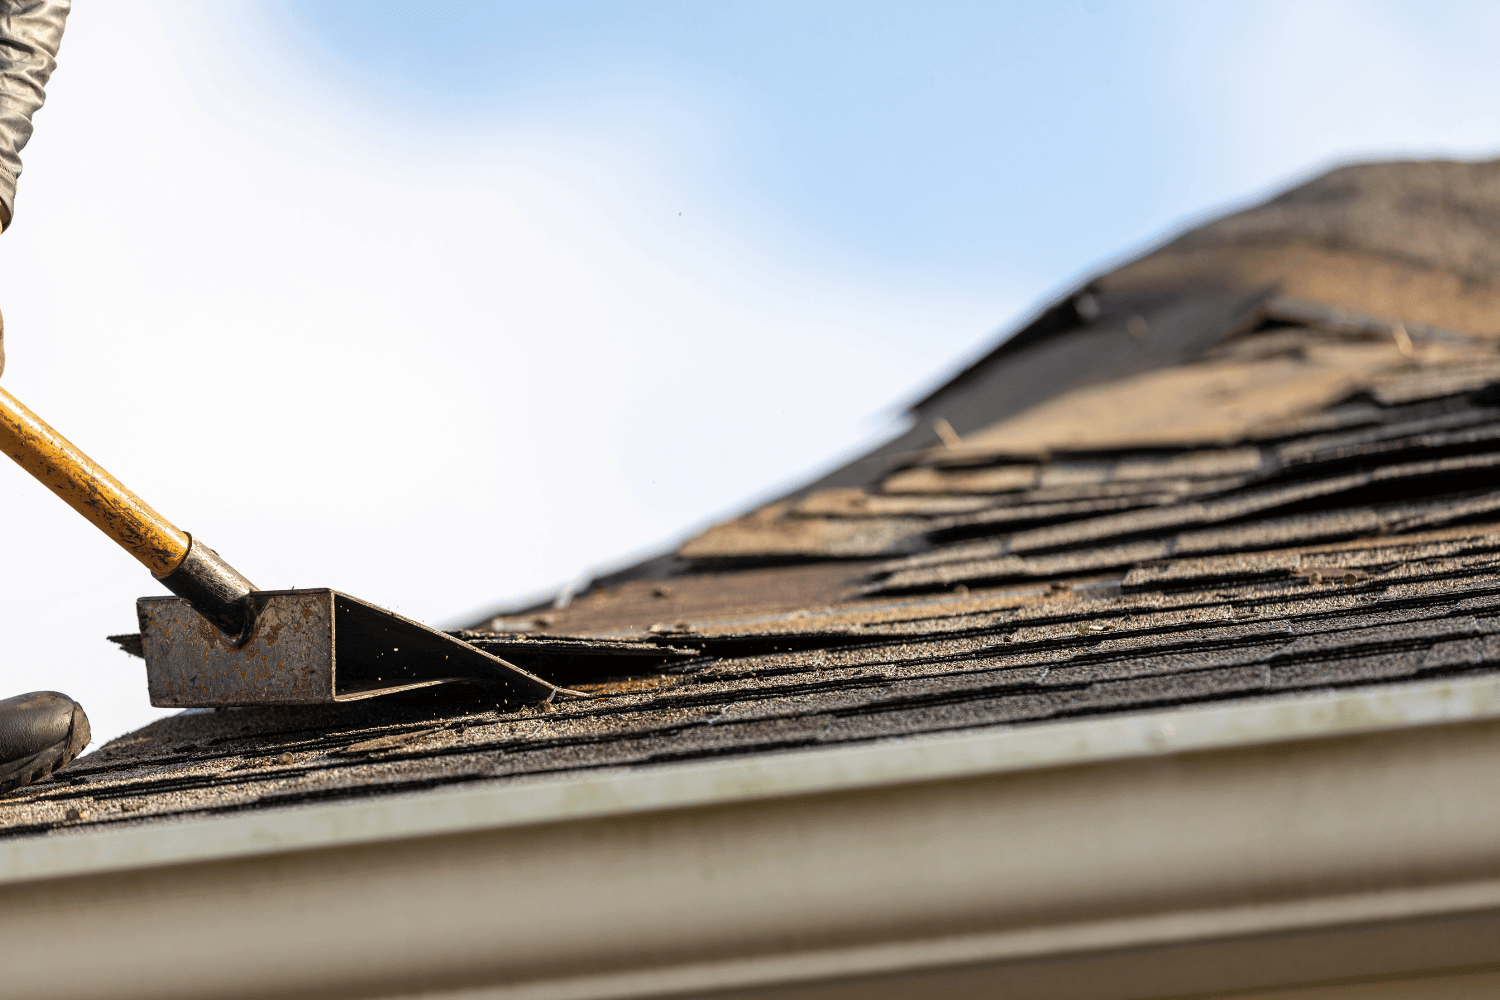
Removing the old roof is a critical step. Cover attic items and remove wall decorations to protect your home’s interior. Specialized tools and skills are required for effective replacement.
Use the tear-off method if there are already two layers of roofing material. Remove the entire old roof before installing the new one. A roofing shovel can help with this task, and materials should be disposed of in a dumpster.
Tools Needed for Removal
The right tools are crucial for efficient, safe roof removal. A roofing shovel, often more effective than a garden fork, is essential for shingle removal. Other necessary tools include dumpsters for waste disposal and safety gear.
These tools facilitate a smooth transition from the old roof to new materials, making the process more manageable.
Steps to Remove Old Shingles
Remove shingles from the peak and work downward for effective debris management. This method organizes the removal process and prevents roof deck damage.
After removing old shingles, inspect the roof deck for damage. This vital step ensures a stable base for the new roof. Proper disposal of old shingles and preparation of the roof deck set the stage for the new installation.
Repairing and Inspecting the Roof Deck
Inspect the roof to identify any structural or moisture damage before installing a new one. This step is essential to detect underlying issues.
Replace damaged wood on the roof decking with new plywood or OSB. This step ensures the longevity and stability of the roofing materials.
Identifying Damage
Signs of damage to roof decking include sagging, dark spots, musty odors, and holes. Inspectors look for wear, rot, and water damage to determine the roof’s condition. Conduct roof inspections at least biannually, especially after severe weather.
Granules in gutters often indicate roof deterioration and the potential need for replacement. Early identification of these signs can save on extensive repairs and prolong the roof’s lifespan.
Replacing Damaged Wood
Check for watermarks, rot, and damage on the roof sheathing. Plywood or oriented strand board (OSB) typically replace damaged decking, with plywood being the more durable option.
Properly attach new sheathing to the roof deck to provide a sturdy base for the new roofing materials and prevent future issues.
Installing Protective Layers
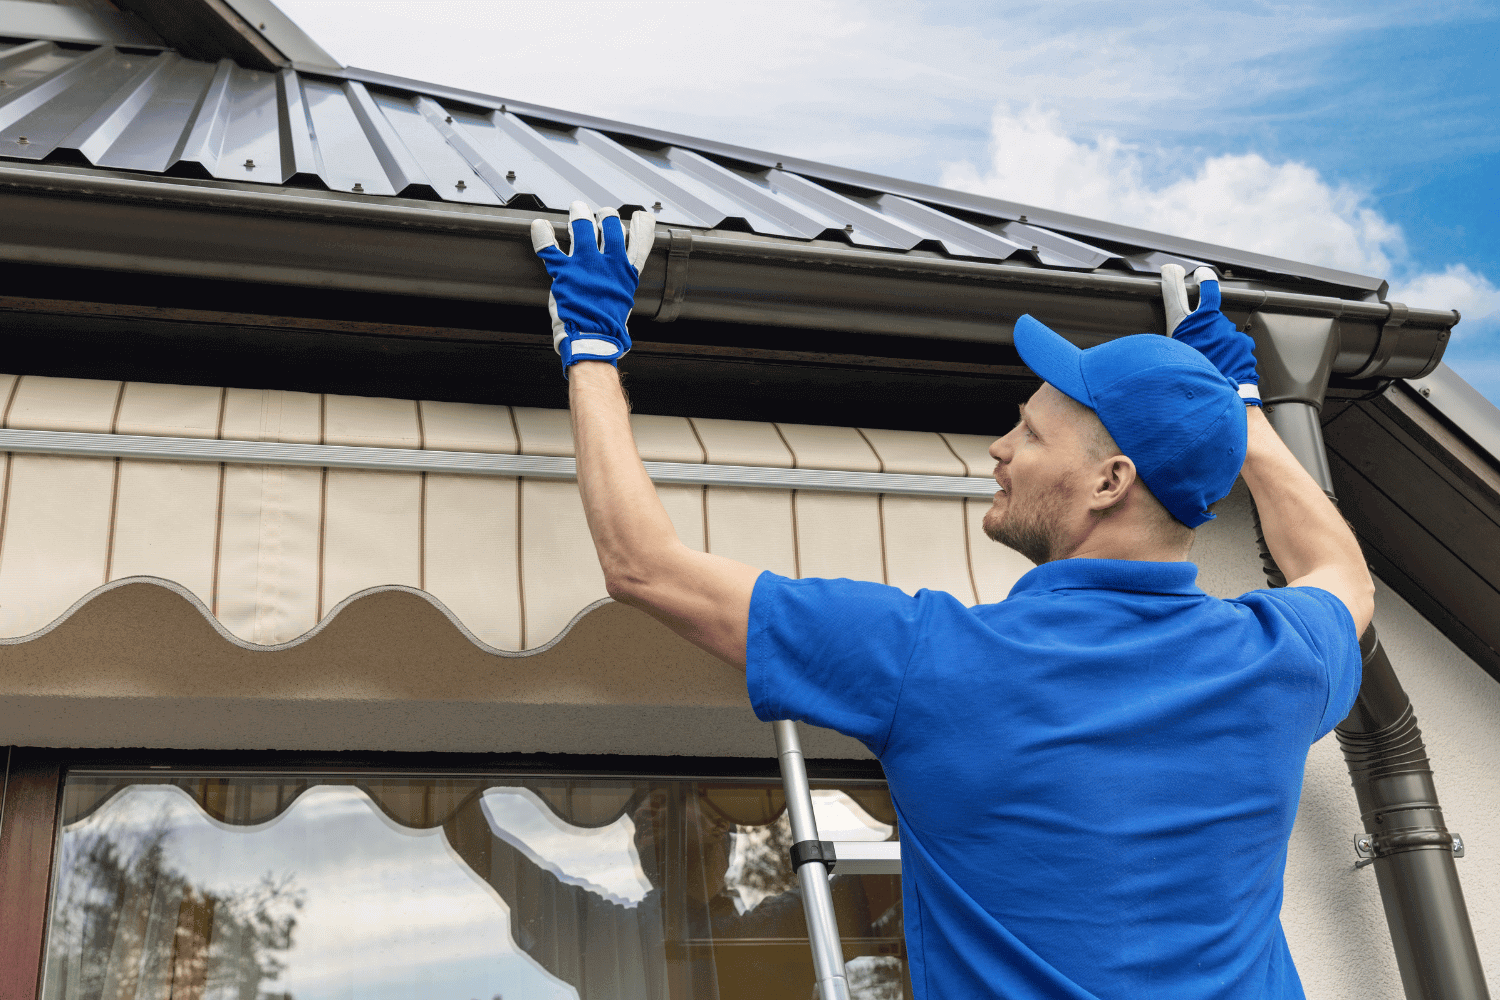
Protective layers are critical in roof replacement. A drip edge directs water away from the roof deck and into the gutters, reducing water damage risk. Underlayment and leak barriers provide secondary defenses against water infiltration, protecting from ice dams and heavy rains.
These layers ensure the longevity and effectiveness of the new roof.
Drip Edge Installation
Place the drip edge tightly against the fascia boards to direct water away. Common materials include aluminum and PVC. Secure the drip edge with roofing nails every 2 to 3 feet.
This installation prevents water from seeping into the roof deck, ensuring a solid foundation for the new roof.
Underlayment and Leak Barriers
Felt paper and synthetic underlayment, typically made from fiberglass or polyester, are common. Synthetic underlayment is preferred for its durability and ease of installation.
Leak barriers prevent water from entering the roof decking, especially in valleys. These barriers protect the roof from water damage and prolong its lifespan.
Laying New Shingles
After installing protective layers, lay the new shingles. Inspect the roof deck to ensure a solid and stable base. Begin by installing a strip of starter shingles from the roof edge.
Install new roofing material starting at the eaves near the metal drip edge and work upwards. Use a chalk line to ensure straight lines.
Starter Shingles
Starter shingles provide a secure base for the first row. Made from materials like asphalt and fiberglass, they improve water runoff by sitting flat.
They also prevent wind from blowing underneath the first line. Proper installation is essential for the roof’s overall integrity.
Installing Asphalt Shingles
Asphalt shingles rely on gravity to channel water away. A smooth and secure roof deck is essential for successful installation.
Install the drip edge on the eave first to protect the roof deck. Underlayment, either felt or synthetic, adds an extra layer of protection.
Ridge Cap Shingles
Finish the shingle installation with ridge cap shingles to cover the peak where two roof planes meet. These shingles prevent water and debris entry. Overlap each shingle or cap and nail securely when installing ridge caps. Ensure each ridge cap covers the nails of the previous one for proper sealing.
Proper ridge cap installation is crucial for durability and weather resistance, ensuring the roof ridge is protected against water infiltration and wind damage.
Flashing and Ventilation
Flashing and ventilation are essential for a well-installed roof. Flashing directs water away from vulnerable areas, preventing leaks. Step flashing is essential where the roof meets vertical surfaces like chimneys and dormers.
Ventilation regulates temperature and moisture levels in your attic, preventing damage and extending your roof’s lifespan. Ridge cap shingles also aid ventilation by allowing hot air to escape.
Installing Flashing
Inspect flashing around chimneys and vents to prevent water infiltration. Nail flashing to the roof deck, not vertical walls, to allow for expansion and contraction. This flexibility prevents cracking or detachment over time.
Proper flashing installation is essential to direct water away from critical areas, ensuring the roof remains watertight and protected against leaks and damage.
Adding Roof Vents
Install roof vents correctly aligned with the roof decking and attic space. Proper ventilation regulates temperature and moisture levels, preventing damage and extending roof lifespan.
Adding roof vents maintains a healthy attic environment, reduces mold risk, and improves home efficiency.
Finalizing the Roof Replacement
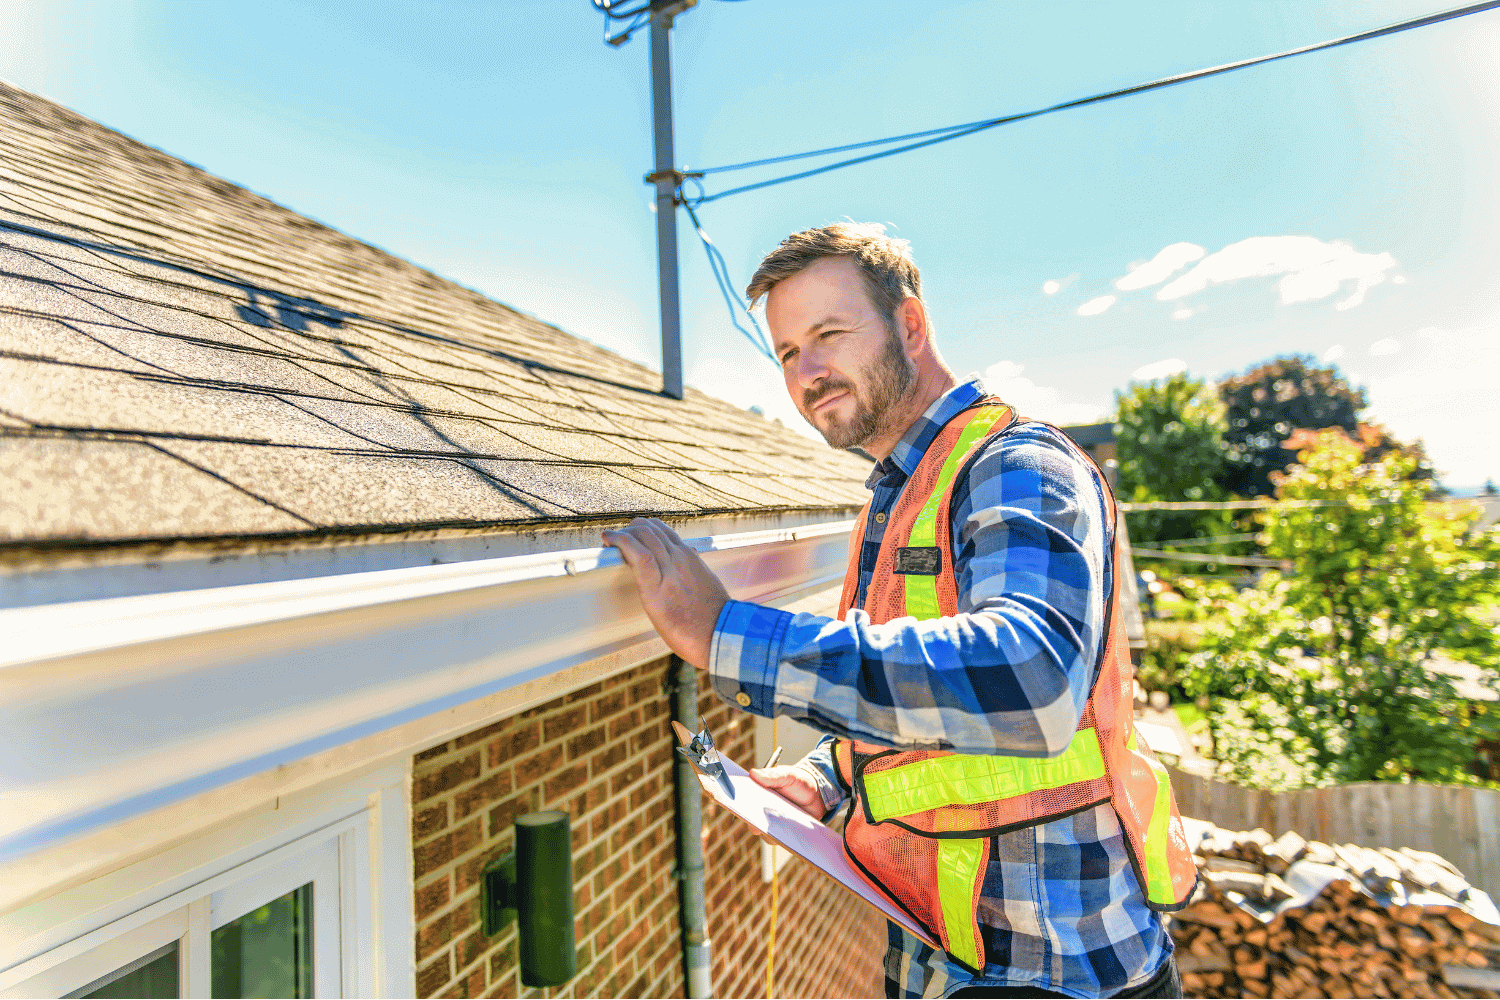
Finalize the roof replacement with a thorough inspection to ensure all work meets the homeowner’s expectations. Address any discrepancies during the walkthrough. Regular maintenance can significantly enhance your new roof’s lifespan.
Regular inspections and maintenance catch minor issues early, keeping your roof in optimal condition. This final step ensures your new roof is ready to protect your home for years to come.
Cleanup Process
Cleaning up the job site is the final step in the roof installation process. Ensure the area is tidy once work is complete. The roofing contractor should remove old shingles, nails, and materials used during the installation. Roofing crews typically perform a thorough sweep of the property for debris and loose nails after the installation is completed.
Contractors use a blower and magnets to ensure nothing is left on the roof. If unsatisfied with the cleanup, a homeowner can request a secondary sweep for nails. A dumpster can simplify the cleanup process when removing old shingles.
Scheduling an Inspection
A professional inspection is crucial to ensure the newly installed roof meets all safety and building standards. Compliance with local safety and building standards helps prevent future roofing issues and ensures the roof’s lifespan. Prioritizing a professional inspection can save homeowners from potential structural damages and costly repairs.
Scheduling a final inspection with a building inspector ensures that all aspects of the roof replacement process have been completed correctly and safely. This step provides peace of mind and confirms that your new roof is ready to withstand the elements.
Post-Installation Maintenance
The lifespan of a roof is influenced by material, installation quality, climate, and maintenance. Essential annual maintenance activities for a new roof include regular inspections, gutter maintenance, and protecting the roof. Cleaning gutters is vital for effective water drainage, which protects the roof from damage.
Regular maintenance ensures that your roof remains in good condition and can effectively protect your home from the elements. By staying proactive, you can avoid costly repairs and extend the lifespan of your new roof.
Regular Inspections
Regular roof inspections are essential because they catch minor issues early. The average cost of an annual roof inspection ranges from $125 to $342. During an annual inspection, contractors look for issues such as cracked shingles and mold.
Scheduling regular inspections with a professional roofing contractor ensures that your roof remains in top condition. These inspections can identify potential problems before they become major issues, saving you time and money in the long run. Additionally, working with experienced roofing contractors can provide peace of mind.
Gutter Maintenance
Debris in gutters can lead to water overflow, which might damage the roof and foundation. Gutters should be cleaned at least twice a year, ideally in the fall after most leaves have fallen, and after winter storms to remove any settled debris. If your roof is high or you’re pressed for time for gutter cleaning, it’s advisable to hire a contractor.
Installing gutter guards can help reduce the amount of debris accumulating in gutters. Proper gutter maintenance ensures that water is effectively drained away from your roof and home’s foundation, preventing water damage and prolonging the life of your roof.
Summary
In summary, replacing your roof is a significant investment that requires careful planning and execution. By assessing your roof’s condition, preparing adequately, removing the old roof, installing protective layers, laying new shingles, and ensuring proper flashing and ventilation, you can achieve a successful roof replacement. Regular post-installation maintenance, including inspections and gutter cleaning, will help extend the lifespan of your new roof.
Taking the time to follow these steps meticulously will not only protect your home from the elements but also enhance its curb appeal and value. Remember, a well-maintained roof is the cornerstone of a safe and comfortable home. So, embrace this journey with confidence and ensure your roof replacement is done right.
Frequently Asked Questions
How do I know if my roof needs to be replaced?
Check for curled, cracked, or missing shingles, leaks, and damaged flashing. Plus, if your roof is over 20 years old, it might be time for a replacement.
When is the best time to replace a roof?
The best time to replace a roof is early fall, as the weather tends to be favorable and contractors are more available. Spring and early summer are also good alternatives if you miss that window.
What permits and materials do I need for a roof replacement?
You’ll definitely need to check your local regulations for necessary permits, and gather materials like shingles, underlayment, nails, and flashing for the roof replacement. It’s all about being prepared!
How do I protect my property during a roof replacement?
To protect your property during a roof replacement, talk to your contractor about covering your plants and securing items in your attic to avoid dust and debris. Don’t forget to also inform your neighbors!
What post-installation maintenance is necessary for a new roof?
To keep your new roof in great shape, make sure to inspect it annually and clean your gutters at least twice a year. This simple routine will help extend your roof’s lifespan and prevent costly repairs down the line.

